
Securing your WordPress website with an SSL certificate is crucial for protecting user data, establishing trust, and improving search engine rankings. SSL (Secure Sockets Layer) encrypts the data transmitted between a user’s browser and your website, safeguarding it from potential threats. In this article, we will provide you with a comprehensive step-by-step guide on how to add an SSL certificate to your WordPress website, ensuring a secure and trustworthy browsing experience for your visitors.
Why Add an SSL Certificate to Your WordPress Website?
Adding an SSL certificate to your WordPress website offers several benefits:
- Data Security:
SSL encryption protects sensitive data, such as login credentials, payment details, and personal information, from interception and unauthorized access. - Trust and Credibility:
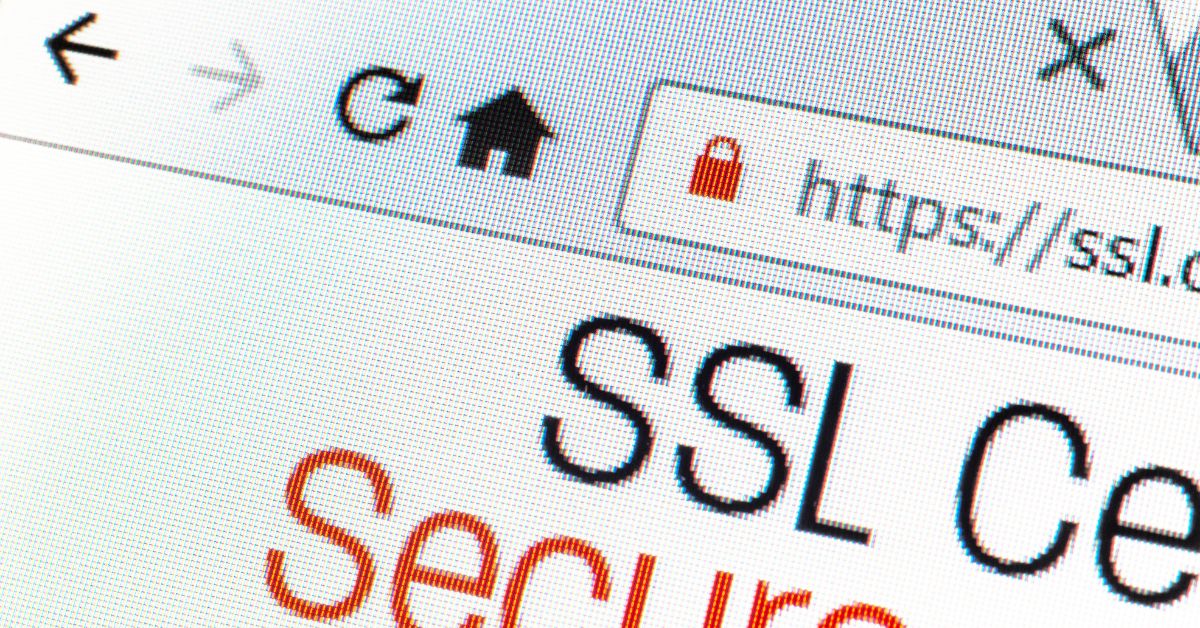
Displaying the padlock icon and the “https://” prefix in the browser’s address bar instills confidence in your visitors, assuring them that their data is secure and reducing the risk of phishing attacks. - Improved SEO and Ranking Boost:
Search engines prioritize secure websites in search results, rewarding them with better rankings. Adding SSL to your WordPress website can positively impact your search engine visibility and organic traffic.
Let’s explore the step-by-step process of adding an SSL certificate to your WordPress website.
Step 1: Choose an SSL Certificate:
Select the appropriate SSL certificate for your website. There are three types of SSL certificates: Domain Validated (DV), Organization Validated (OV), and Extended Validation (EV). For most websites, a DV certificate is sufficient. You can obtain an SSL certificate from reputable certificate authorities (CAs) like Let’s Encrypt, Comodo, or DigiCert.
Step 2: Check Your Web Hosting:
Verify if your web hosting provider offers free SSL certificates through Let’s Encrypt or provides SSL certificate installation services. Many hosting providers have simplified the SSL installation process, allowing you to enable SSL with just a few clicks.
Step 3: Enable SSL Certificate:
If your hosting provider offers an SSL installation service, follow their documentation or contact support for assistance in enabling SSL for your WordPress website. This may involve activating the SSL certificate and updating your website’s settings.
Step 4: Install a WordPress SSL Plugin (if needed):
In some cases, you may need to install a WordPress SSL plugin to ensure all URLs on your website are properly redirected to the secure “https://” version. Popular plugins include Really Simple SSL and WP Force SSL. Install and activate the chosen plugin, and it will handle the necessary redirects and configuration.
Step 5: Update Your WordPress Settings:
In your WordPress admin dashboard, navigate to “Settings” and click on “General.” Update the “WordPress Address (URL)” and “Site Address (URL)” fields to include “https://” instead of “http://.” Save the changes to ensure all internal links are updated to the secure version.
Step 6: Test and Verify SSL Installation:
Visit your website using “https://” in the browser’s address bar to verify that the SSL certificate is installed correctly. Check if the padlock icon appears, indicating a secure connection. Use online SSL checker tools to confirm proper installation and to ensure there are no mixed content warnings.
Step 7: Update External Links and Resources:
Inspect your website for external resources, such as images, scripts, or iframes, that are still being loaded via “http://.” Update these URLs to “https://” to avoid mixed content warnings and maintain a secure browsing experience for your visitors.
Conclusion:
By following this comprehensive guide, you can easily add an SSL certificate to your WordPress website, ensuring a secure and trustworthy browsing experience for your visitors. With the increasing emphasis on website security and its impact on search engine rankings, SSL is an essential component for any WordPress website. Implement SSL to protect user data, build trust, and enhance your website’s SEO performance.
For more WordPress-related tips, tutorials, and best practices, visit our blog at wordpressdevblog.com. Stay updated with the latest techniques to optimize your WordPress website’s security and performance.